
The Ultimate Nutella Milkshake Recipe: Creamy & Ready in 5 Minutes
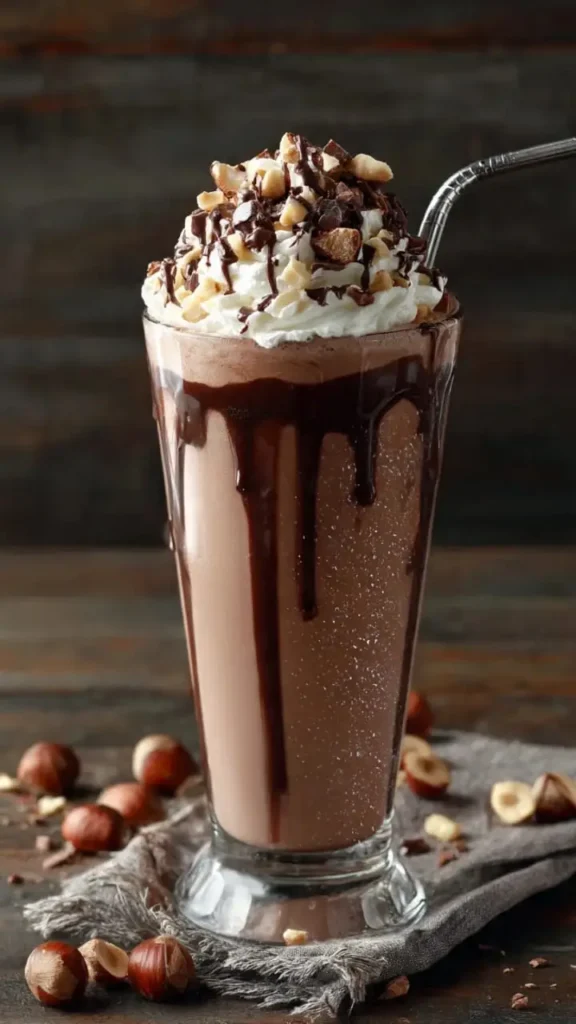
This ultimate Nutella milkshake combines rich chocolate hazelnut spread, cold whole milk, and creamy vanilla ice cream into a thick, indulgent dessert. Popular for its deeply nutty flavor profile and effortless three-ingredient preparation, this homemade treat satisfies intense sweet cravings in under five minutes.
How do you make a Nutella milkshake quickly?
Blend three large scoops of slightly softened vanilla ice cream, half a cup of whole milk, and a quarter cup of Nutella until perfectly smooth. Always pour the milk into the blender first to create a liquid base, which prevents the heavy hazelnut spread from sticking to the blades. Pour the blended mixture into a chilled glass, top with a generous swirl of whipped cream, and serve immediately.
The combination of chocolate and hazelnut is universally loved. Walk down the aisle of any grocery store, and you will see dozens of snacks trying to replicate this iconic flavor pairing. Yet, nothing quite captures the magic of eating spoonfuls of rich chocolate hazelnut spread straight from the jar. Turning that beloved spread into a frozen dessert takes the experience to an entirely new level of enjoyment.
Creating the perfect Nutella milkshake recipe requires more than just tossing ingredients into a blender. Getting that flawless diner-style texture involves understanding the science of blending, the importance of ingredient temperatures, and the exact ratio of dairy to spread. Many home cooks struggle with icy textures or clumps of unblended chocolate stuck to the bottom of their pitcher.
This comprehensive guide will teach you how to create the ultimate Nutella milkshake with ease. You will learn the exact three-ingredient recipe, discover the best dairy-free alternatives for dietary restrictions, and master professional blending techniques. By the time you finish reading, you will know exactly how to whip up a flawless, thick, and creamy hazelnut shake right in your own kitchen.
What ingredients do you need for a Nutella milkshake?
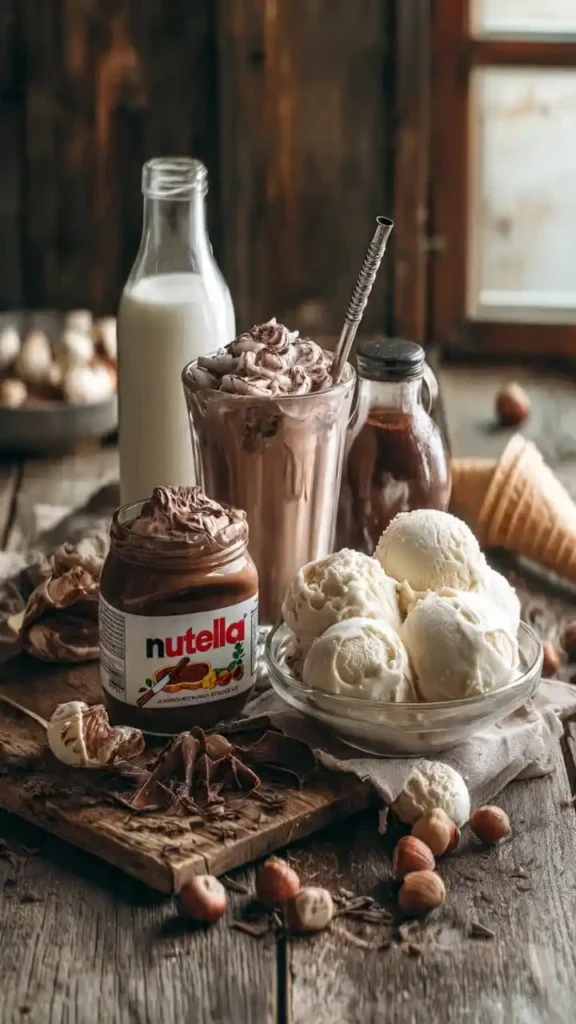
Creating a restaurant-quality frozen dessert requires high-quality components. The magic of this recipe lies in its simplicity, relying on just three core ingredients to deliver maximum flavor.
The Big Three
- Nutella: This is the star ingredient. You need about a quarter cup of room-temperature chocolate hazelnut spread. Ensure it is soft and pliable so it emulsifies smoothly into the cold dairy.
- Vanilla Ice Cream: This provides the creamy foundation. Choose a premium, full-fat vanilla bean ice cream. Avoid chocolate ice cream, as it will overpower the delicate hazelnut notes. You will need three large scoops (about one and a half cups).
- Milk: Whole milk acts as your texture controller. Half a cup is the standard starting point. Whole milk contains the right amount of milk fat to keep the shake thick, whereas skim milk often results in a watery consistency.
What optional enhancements can elevate your shake?
While the base recipe is spectacular on its own, a few simple additions can make your drink look and taste like it came from a gourmet dessert shop.
- Whipped cream and toppings: A tall swirl of whipped cream adds visual appeal and a light, airy texture.
- Chopped hazelnuts: Toasting and finely chopping raw hazelnuts provides a delightful crunch that contrasts beautifully with the smooth beverage.
- Vanilla extract: Adding half a teaspoon of pure vanilla extract enhances the chocolate notes and adds depth to the overall flavor profile.
How do you make a dairy-free Nutella milkshake?
If you have a dairy allergy or follow a vegan lifestyle, you can easily modify this recipe. Because traditional Nutella contains skim milk powder, you must swap it out for a vegan chocolate hazelnut spread.
Choosing the right plant-based milk is crucial for maintaining a thick texture. Here is a quick breakdown of how different dairy-free milks perform in milkshakes:
| Plant-Based Milk | Texture Impact | Flavor Profile |
| Oat Milk | Excellent. Creates a very thick, creamy base. | Mild, slightly sweet. Complements chocolate perfectly. |
| Soy Milk | Good. Offers a rich texture due to high protein. | Distinct taste. Can sometimes overpower the hazelnut. |
| Almond Milk | Poor. Often results in a thin, icy milkshake. | Nutty, but lacks the fat content needed for creaminess. |
Pair your chosen milk with a coconut or oat-based vanilla ice cream for the best dairy-free results.
How do you craft the perfect creamy concoction?
Preparation is the key to success. Follow this step-by-step guide to ensure your milkshake turns out perfectly every single time.
1. Gather and prep your ingredients
First, place your serving glasses in the freezer for about twenty minutes. A frosted glass keeps your dessert cold and prevents rapid melting. Next, take your vanilla ice cream out of the freezer and let it sit on the counter for exactly five minutes. This process, known as tempering, slightly softens the ice cream, allowing it to blend smoothly without requiring excessive amounts of liquid.
2. Master the blending process
The order in which you add ingredients to your blender matters immensely.
- Pour the half cup of whole milk into the blender pitcher first.
- Add the three scoops of tempered vanilla ice cream.
- Spoon the quarter cup of Nutella directly on top of the ice cream.
Adding the milk first creates a liquid vortex that pulls the solid ingredients down. If you put the Nutella at the bottom, it will immediately stick to the cold blades and refuse to incorporate. Start your blender on the lowest setting to break up the ice cream, then gradually increase the speed to medium-high. Blend for 20 to 30 seconds until completely smooth.
3. Adjust the thickness
Check the consistency. If you prefer a drink you can easily sip through a straw, add an extra splash of milk and pulse for five seconds. If you love a spoonable, ultra-thick dessert, drop in one more scoop of ice cream and blend again.
4. Focus on presentation
Before pouring, take a butter knife and smear a small amount of extra Nutella along the inside walls of your chilled glass. Pour the frosty mixture into the decorated glass. Top generously with whipped cream, scatter some chopped hazelnuts over the peaks, and insert a wide reusable straw.
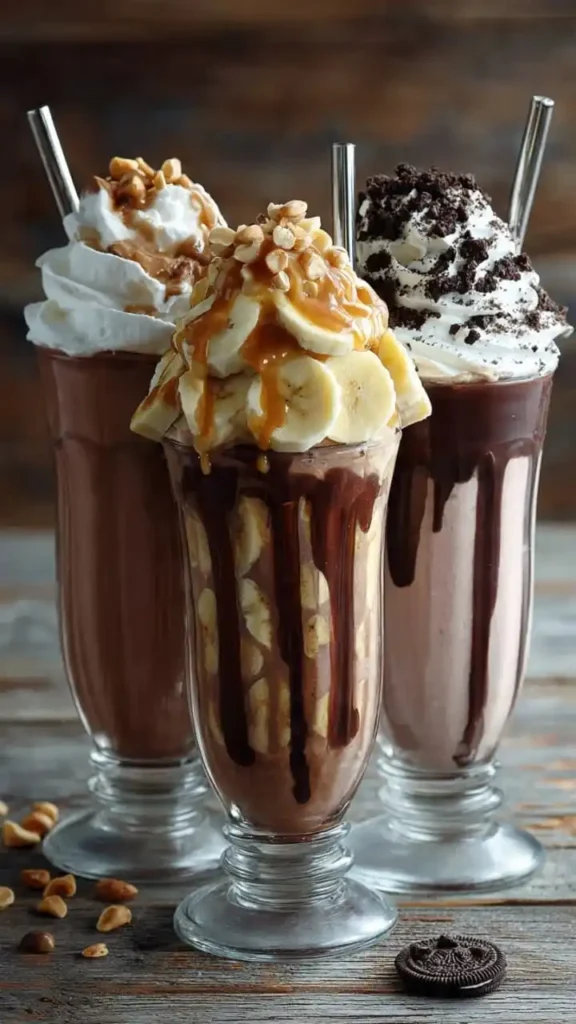
What are the best Nutella milkshake variations?
Once you master the basic recipe, you can treat it as a blank canvas. Customizing your drink allows you to cater to different cravings and flavor preferences.
Nutella Banana Milkshake
Fruit and chocolate are a match made in heaven. Add one whole frozen banana to the blender along with the original ingredients. The frozen banana naturally thickens the drink, meaning you might need an extra tablespoon of milk to reach your desired consistency.
Peanut Butter Nutella Milkshake
Combine two classic spreads for a deeply rich, salty-sweet dessert. Add two tablespoons of creamy peanut butter to the blender. The saltiness of the peanut butter beautifully cuts through the intense sweetness of the hazelnut spread.
Coffee Nutella Milkshake
Need an afternoon pick-me-up? Swap out half of the milk for a quarter cup of chilled espresso or cold brew coffee. The bitter notes of the coffee highlight the deep cocoa flavors, creating an elegant, mocha-like beverage.
Beyond the Basics
Crush a handful of pretzel sticks into the blender for a salty crunch, or toss in three Oreo cookies for a cookies-and-cream hazelnut hybrid. The customization options are truly endless.
What are the top tips for milkshake mastery?
Even the simplest recipes can go wrong. Use these professional kitchen tips to avoid common pitfalls.
The science of temperature
Always use cold milk and a chilled blender pitcher. Heat is the enemy of a thick milkshake. If your blender runs for too long, the friction from the blades will actually start to cook the mixture, turning your thick dessert into chocolate milk. Keep your blending time under 30 seconds.
Troubleshooting common issues
If your drink isn't turning out exactly as planned, reference this quick troubleshooting guide:
| The Problem | The Scientific Cause | The Easy Solution |
| Nutella clumps at the bottom | Cold milk caused the room-temperature oils in the spread to seize. | Microwave the Nutella for 10 seconds before adding it to the blender. |
| Texture is too thin/watery | Too much liquid or ice cream was heavily over-blended. | Add a handful of ice cubes or another scoop of ice cream. |
| Blender gets stuck | Not enough liquid to create a blending vortex. | Add milk one tablespoon at a time and stir manually with a spoon (blender off). |
How does this fit into a balanced diet?
A Nutella milkshake is an indulgent dessert, not a health food. Understanding its nutritional profile helps you incorporate it mindfully into your lifestyle.
Depending on your specific ice cream brand, a standard serving of this recipe contains roughly 500 to 600 calories, with substantial amounts of sugar and saturated fats. The dairy provides a moderate amount of calcium and protein. Treat this beverage as a special weekend indulgence or a celebratory dessert. If you want to lighten the caloric load, reduce the ice cream to two scoops, use skim milk, and skip the whipped cream topping.
Why does this frozen treat reign supreme?
The magic of this recipe lies in its unbeatable convenience. You do not need to turn on an oven, measure out flour, or wait hours for dough to chill. In exactly five minutes, you can transform pantry staples into a premium dessert.
Its versatility means you can tweak it to satisfy almost any specific craving, whether you want a fruity twist with bananas or a caffeine boost with espresso. Most importantly, it has universal appeal. It delights young children coming home from school just as much as it satisfies adults looking for a nostalgic, comforting late-night snack.
Blend, Sip, and Share Your Masterpiece
Creating the perfect Nutella milkshake recipe is a rewarding, delicious endeavor. By utilizing the correct ingredient ratios, understanding the science of temperature, and blending in the proper order, you will achieve a diner-quality dessert right in your own kitchen.
Now it is time to put your blender to work. Gather your ice cream, milk, and chocolate hazelnut spread, and experiment with the variations listed above. Snap a photo of your frosty, chocolate-streaked glass and share it with your friends and family.
Frequently Asked Questions
How many hazelnuts are actually in a standard Nutella milkshake?
A standard 400g jar of Nutella contains exactly 52 hazelnuts, meaning the spread is roughly 13% hazelnuts by weight. A quarter-cup serving used in this recipe contains approximately 9 to 10 crushed hazelnuts, providing that signature roasted flavor.
Which dairy-free milk produces the thickest milkshake texture?
Oat milk is the superior choice for dairy-free milkshakes. Unlike almond milk, which has a high water content and thin consistency, oat milk contains natural starches and a higher fat content that mimics the creamy mouthfeel of whole dairy milk.
How many calories are in a homemade versus restaurant Nutella shake?
Restaurant versions are notoriously calorie-dense. For example, a regular-sized Nutella Milkshake from Steak 'n Shake contains over 900 calories and 97 grams of sugar. By making this recipe at home, you can control the portions, bringing the total down to a much more manageable 500 to 600 calories.
Why does my Nutella sometimes clump in the blender?
Clumping occurs when room-temperature fats hit freezing-cold liquids, causing the cocoa butter and palm oil in the spread to seize and harden instantly. To prevent this, ensure your Nutella is soft, and always place it on top of the ice cream rather than directly into the cold milk pool at the bottom.
Can I prepare this milkshake ahead of time and store it?
It is highly recommended to consume milkshakes immediately. If you freeze a blended milkshake, the milk and melted ice cream will crystallize, turning into a solid block of ice rather than a creamy drink. If you must store leftovers, let the frozen block thaw slightly on the counter and re-blend it with a splash of fresh milk.
- 3 scoops Vanilla ice cream (about 1.5 cups)
- ½ cup Whole milk
- ¼ cup Nutella
- Whipped cream (optional topping)
- Chopped hazelnuts (optional)
- ½ tsp Vanilla extract (optional)
- 1 Chill Your Glass for a Café-Style ExperienceChill your glass in the freezer for 15–20 minutes (for best texture).
- 2
Add Milk as the Liquid BaseAdd milk first into the blender.- 3
Layer Ice Cream for CreaminessAdd vanilla ice cream on top.- 4
Add Nutella for Rich Chocolate Hazelnut FlavorAdd Nutella last.- 5
Blend Until Smooth and ThickBlend for 20–30 seconds until smooth and creamy.- 6
Adjust Thickness to Your PreferenceToo thick → add a splash of milk
Too thin → add more ice cream
- 7
Pour Into Prepared GlassPour into chilled glass and Serve immediately and enjoy. - 2